 If you need to establish a professional-looking website without shelling out cash for a Web design team, check out the free open-source blogging tool WordPress. Chances are good that many of your favorite websites use this popular platform, since WordPress makes creating and editing content on a blog incredibly easy.
While the basic management tasks are simple, customizing WordPress to meet your needs can be more complicated. Over the years WordPress has developed streamlined tools for setting up a blog and customizing its appearance, but those tools don’t always allow advanced users to access all of the features that WordPress offers. To that end, we’ve collected tips for setting up a fresh WordPress blog—tailored for both beginners and experts—to help you get the most out of your new website.
Set Up WordPress
Although WordPress is technically an open-source content management system for websites, the WordPress team also allows anyone to try out the tools by creating a free ad-supported blog at yourblogname.wordpress.com. The simplest way to start using WordPress is to sign up for this kind of blog on the WordPress website; if you want a different URL, however, you can pay for a subscription that gives you a blog at the domain name of your choice, hosted on WordPress servers.
If you’re an advanced user, and you already pay for hosting at another service (or if you run your own domain server), you can simply set up WordPress on your personal server by downloading the open-source WordPress software from the WordPress Organization website.
Whether you sign up for a free WordPress blog or install WordPress on your personal server, you need to learn how to navigate the WordPress content management system. At its core WordPress relies on a system of templates that allow you to make quick website design changes without losing any data, but advanced users who install WordPress on their own servers can access a few extra features that aren’t available to users who start a free blog on WordPress.com.
![]()
 Get a feel for the WordPress platform by creating a free blog at WordPress.com.
For example, it’s impossible to install WordPress plug-ins on a free WordPress.com blog. And although you can customize a free website’s layout, you can’t install your own custom template; instead, you’re limited to using one of the 200 or so templates that WordPress has chosen for you.
![]()
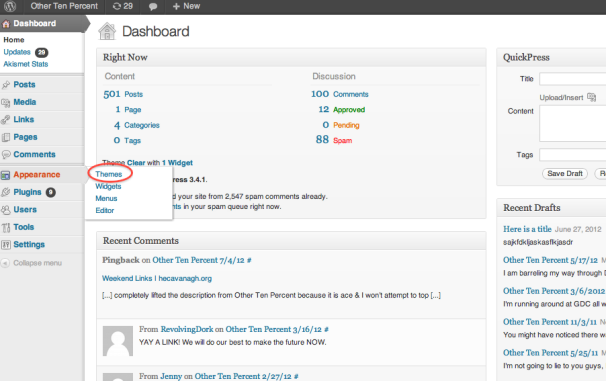
 The chief strength of WordPress is its themes, which allow you to change your website design quickly without sacrificing any of your content.
Overall, WordPress.com is great for people who are just getting started with blogging. WordPress.com’s free service lets you become acquainted with WordPress, and its paid-hosting service is a viable (though certainly not perfect) option for users who don’t already have a domain host.
If you do have a hosting service, you’ll probably want to install and use WordPress on that company’s servers. You may wish to poke around in your hosting service’s settings before starting a full WordPress install, however, because most contemporary hosting services can automate the process for you (I told you it was popular). Hosting services typically call such features “One-Click WordPress Installs†or something similar, and usually they automate the steps I’m about to discuss.
Advanced users: Installing the WordPress platform is not a particularly complicated process, but it does require you to make some changes to WordPress’s setup files in a text editor, as well as to use an FTP client. First, you should download the latest stable build of WordPress and unzip it onto your computer. Then, you need to create a MySQL database on your server so that WordPress’s PHP has a database to interact with. Remember that your Web host likely has tools to help automate this process, but such tools (and the best ways to use them) will vary from host to host.
Next, you have to rename the file wp-config-sample.php to wp-config.php and edit it. For starters, you need to enter the name, admin name, and password for the MySQL database you just created; WordPress.org has a handy guide to all the changes you should make to the file. Once you have properly edited your wp-config.php file, you have to use an FTP client to upload the entire WordPress folder to your server.
When all the files are in place, point your browser to http://yourdomainname/wp-admin/install.php to access WordPress’s automated installer. WordPress will finish the install process itself. It should then send you to a page that allows you to name your new WordPress blog and create an administrator username so that you can start customizing the blog.
Next Page: Customize Your WordPress Installation
Article source: http://www.pcworld.com/article/260497/how_to_get_started_with_wordpress.html
