Back in the day, Blogger was one of the top blogging and website platforms.
While it’s still a well regarded option today, many small businesses need a platform that’s more robust and flexible. That’d be a platform like WordPress.
Sure, moving from Blogger to WordPress will provide many benefits, but there are few tasks more dreaded than moving a website. Getting you past that dread and helping you move your site is the purpose of the rest of this article.
That’s right. If you’re wondering how to move from Blogger to WordPress, the steps below should help you work through the process from beginning to end.
Here’s What We’re Going to Do
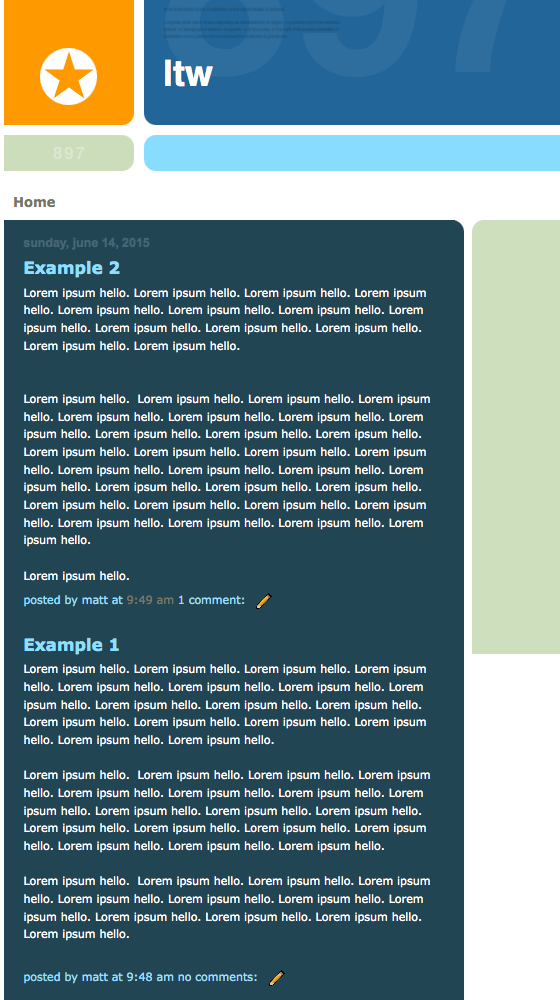
During the course of this example, you’ll see how to import the content (posts, pages, links, images and comments) from this Blogger site to the WordPress site shown below it:
Step 1
The first thing you need to do is get your new self-hosted WordPress site up and running (these steps will not work with a site hosted on wordpress.com).
Once that’s done, read through the next section until you get to step 2.
Why You Shouldn’t Use the WordPress Built-In Blogger Importer
One of the cool things about WordPress is the many importing tools that are included. As you can see, a tool for importing a Blogger website is included:
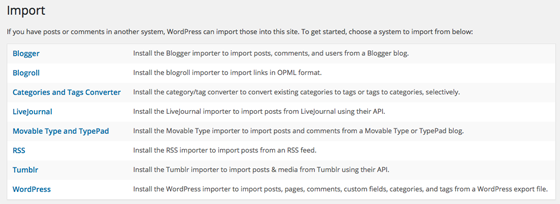
Clicking on the “Blogger†link will open a screen from which you can install a Blogger importer plugin. Once the plugin is installed and activated, you’ll see this screen:

Everything seems to be going smoothly however, once you hit the, “Authorize†button shown in the image above, you’ll see this error screen:

This happens because, at the time this is being written, the importer plugin has not been updated in a long time and thus it’s no longer compatible with the way Google works.
The solution? Use a plugin that does work with the new Google setup.
Here’s What You Should Do Instead
Step 2
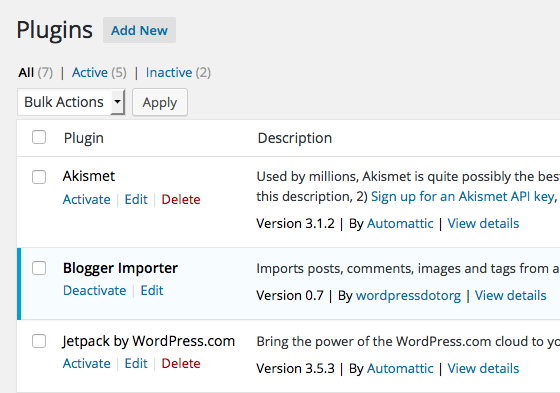
Click on the “Plugins†menu item on the left-hand side of your WordPress dashboard. Once you see the screen below, click on the, “Add New†button at the top.
Step 3
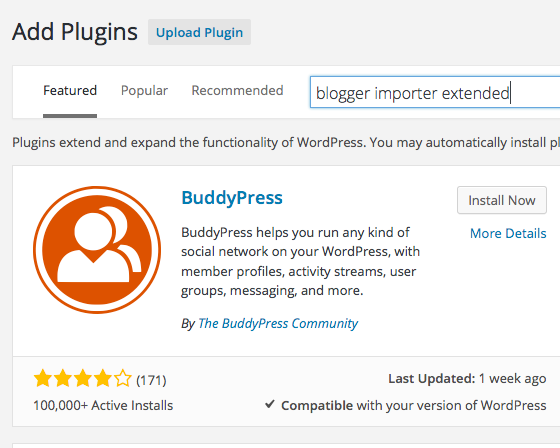
On the next screen, enter “Blogger Importer Extended†in the the search box on the top right and hit “returnâ€.
Step 4
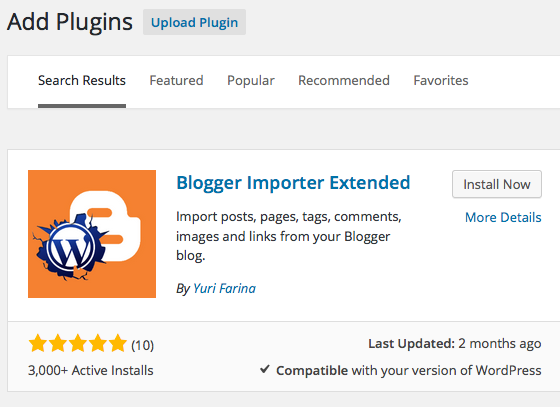
The Blogger Importer Extended plugin should be the first one shown in the left column. Click on the, “Install Now†button to add it to your WordPress install.
Step 5
When you see the screen below, click the “Activate Plugin†link on the bottom left:

Step 6
Next, go back to the Plugins list by clicking on the “Plugins†menu item on the left-hand side of your WordPress dashboard. Find the Blogger Importer Extended plugin that you just installed and click the, “Start!†link beneath the name:

Step 7
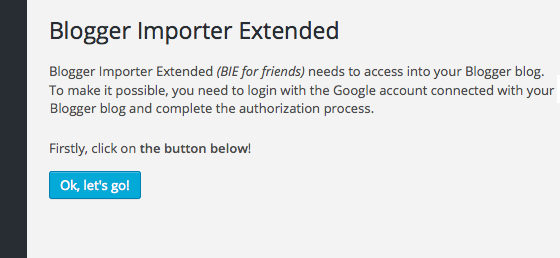
When you see this screen, click the, “OK, let’s go!†button:
Step 8
Now you’ll be taken to the Google authorize screen where you can let Blogger now that it’s OK for this WordPress site to access your Blogger site. This is the step where the previous plugin failed.
You may well wonder what Google has to do with all this. Google owns Blogger so when you sign into your Blogger site, you’re also signing into your Google account.
If you’re not logged into Google at this stage, do so. Once you’re in, click the, “Accept†button:

Step 9
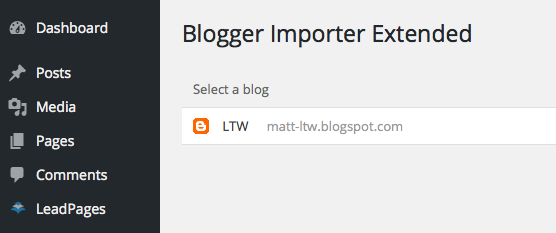
The next step is to select which Blogger site you want to import. In the example below, we only had one site. However, if you have more than one, they will all be shown. Click on the correct site to select it:
Step 10
There are a couple of options available when you import your Blogger website. We recommend that you keep both selected as shown below:
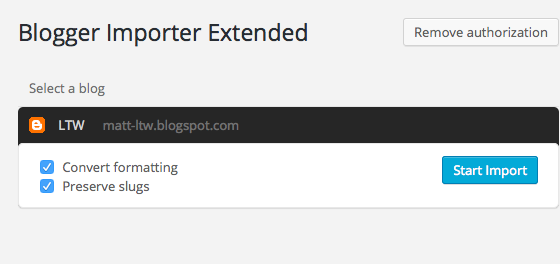
The “Preserve slugs†option is especially key as it will assure that the link to each post will retain the name it had when it was on the Blogger site. A post’s slug is found at the top of the post editing screen. The highlighted text shown in the image below is an example:

Step 11
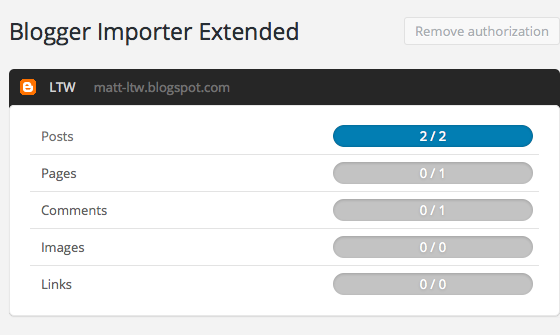
As you can see below, your Blogger content will now be imported into your WordPress site. The blue bar shows a completed task, the gray bars are tasks still to be done.
Note that tasks with, “0/0″ displayed in their bar will never turn blue.
Step 12
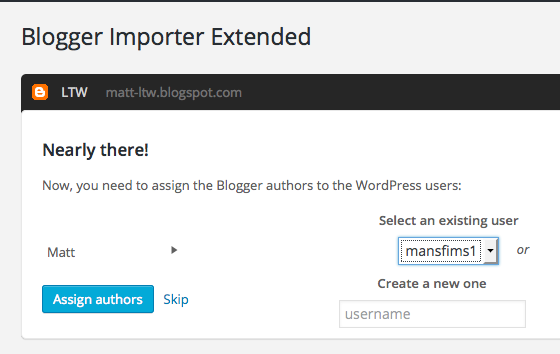
The last step in the import process is to assign a user to your content. This user will be shown as the author of each piece of content. As you see, you can use an existing user or create a new one right there:
Step 13
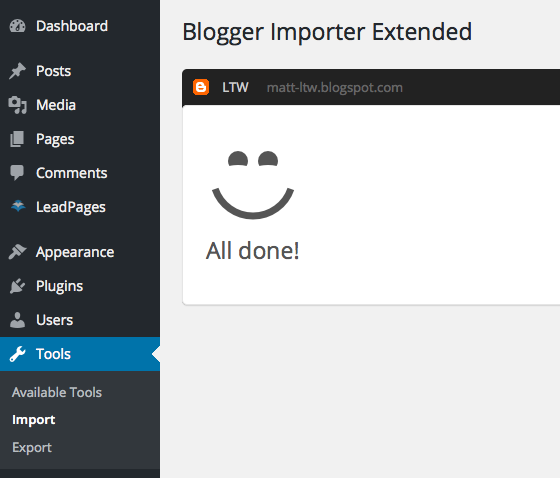
If you see the smiley face, then you’ve successfully imported the content from your Blogger site. Yay!
Results
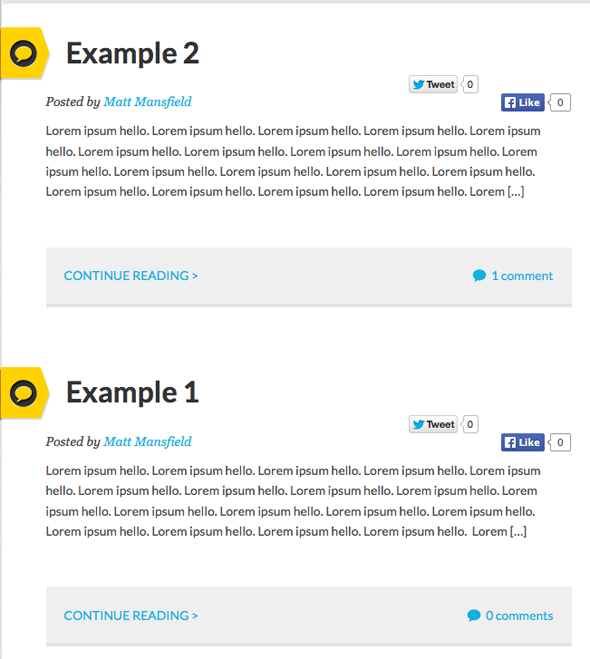
As you can see, our Blogger content now shows up on our WordPress site (yay, again!):
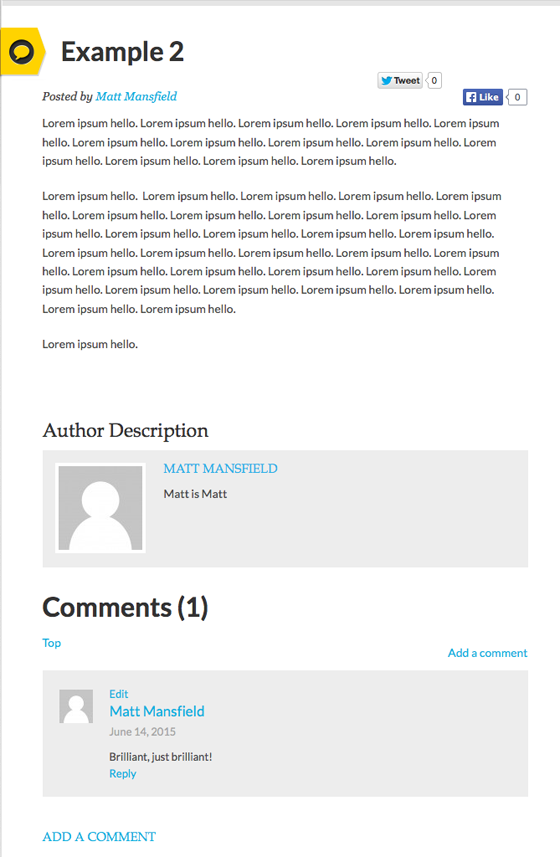
Even comments were carried over:
Cleaning-Up
To make sure that all your content made it over in one piece, there are a few steps you should take:
Step 1
During this example run-through, note that some of the imported content was dated to go live in the future instead of being live now.
If some of your content is not showing up on your WordPress site, you need to fix that.
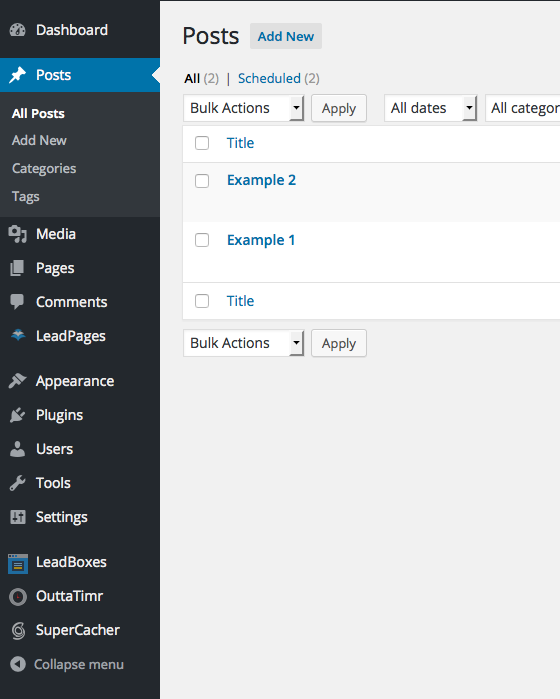
- Start by clicking on the “Posts†menu item on the left-hand side of your WordPress dashboard. You’ll be taken to a list of your posts:
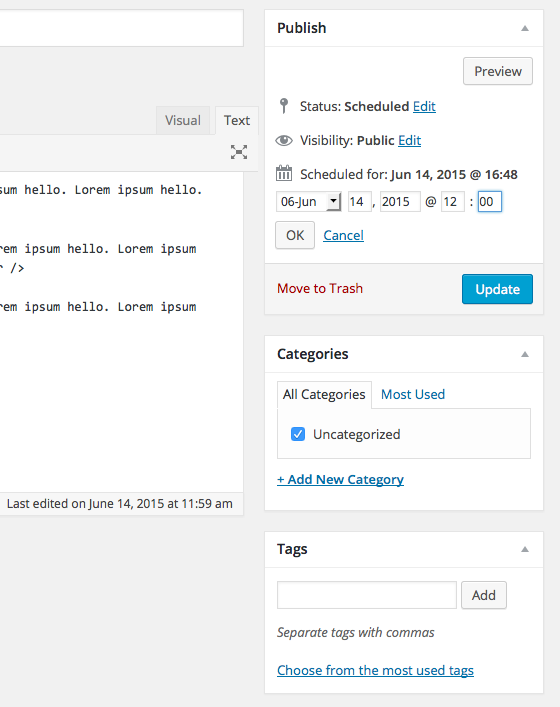
- Click on each of your posts and then look at the top right of the post editing screen. If the “Scheduled for†date is in the future, click the, “Edit†link to change it:

- Change the date and/or time as shown below and click the, “OK†button.
- Repeat this process for any missing posts, pages, comments and links.
Step 2: Formatting Issues
Look through your content for any formatting issues and correct them.
Step 3: Widgets
If you want to import the widgets from your Blogger site, you’ll have to do so manually. Do so by creating new widgets on your WordPress site and then copying and pasting the content from your Blogger widgets into each.
Keeping Your Google Search Rank
Finally, let’s address your Google search ranking. If you’ve worked hard to have your Blogger posts ranked highly (i.e. near the top in search results), you don’t want all that work to go to waste when you move to WordPress.
The easiest way for non-techies to accomplish this is to use one of two plugins created just for this situation. Both offer detailed instructions which you should follow closely as changes need to made on your old Blogger site as well as on your new WordPress one.
Blogger 301 Redirect
The Blogger 301 Redirect plugin is the one recommended by the folks who created the Blogger Importer Extended plugin that you just used to import your content. For that reason alone, you may want to use this one to hold your search rankings intact.
Blogger to WordPress
If the previous plugin doesn’t work for you, or if the developer stops updating it, you can use the Blogger to WordPress plugin as a backup.
Wrapping Up
Now that we’ve shown you how to move from Blogger to WordPress, you’re ready to go. There’re a lot of stages, but if you take the process one step at a time, you’ll find the site migration straightforward and doable.
Image: WordPress.org
Article source: http://smallbiztrends.com/2015/06/how-to-move-from-blogger-to-wordpress.html
