
Continuing our series on setting up two-factor authentication (2FA), today let’s check out how to get 2FA enabled on your WordPress.com account.
An important thing to note: This guide is specifically for WordPress accounts used via WordPress.com – NOT for self-hosted WordPress sites. (There are 2FA plugins you can install on your self-hosted WordPress site, but you should only install them if you’re already quite comfortable with WordPress customizations.)
2FA for your WordPress.com account takes under five minutes to set up, and you’ll want to do this from a desktop computer. Just be sure to have your smartphone handy.
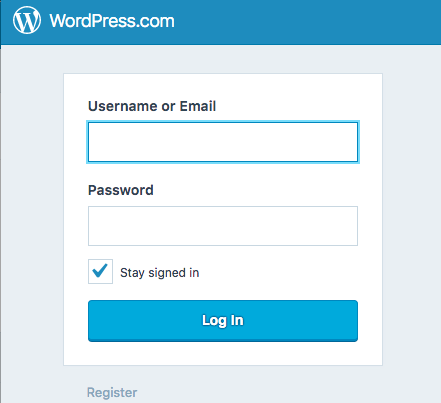
- Log in to your account on WordPress.com:
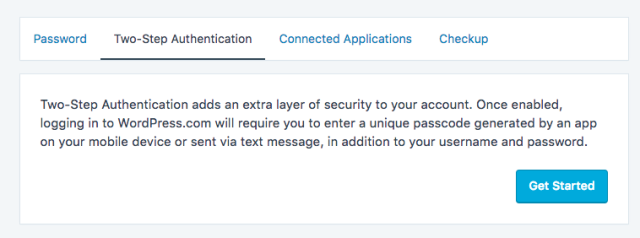
- When logged in, click your profile photo at the top right of the screen. You’ll now see your profile on the left side underneath your photo, name, and username.  Click “Security.â€

- Click “Two-Step Authentication†on the Security screen. It will display a little splash screen of information telling you what 2FA is – pretty handy. Click “Get Started.â€
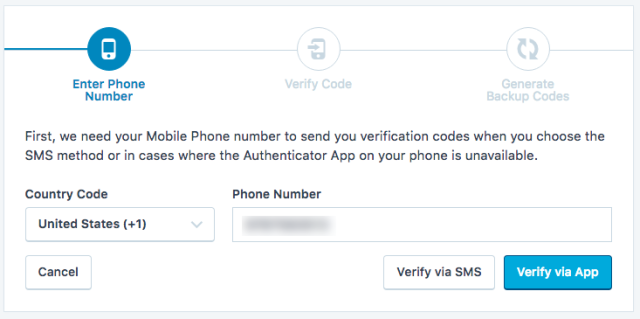
- Now WordPress.com will walk you through the steps to get set up. First, you have to enter your phone number, making sure you have the correct country code selected.
For the purposes of this guide, I’m going to use the “Verify via App†option here. As the text on the screen notes, the text message/SMS option is still available as a backup. If you aren’t sure how to download or set up an authenticator, scroll down to step 8 of this post and follow the instructions there specifically for the Google Authenticator app. I’ll proceed with the guide assuming you’ve already downloaded and installed an authenticator app on your smartphone. Now go ahead and click “Verify via App.†- The next screen on WordPress.com will show you a QR code. You’ll need to launch your authenticator on your smartphone and scan the code with the app. (Again, refer to step 8 of this post if you don’t know how to do this.)
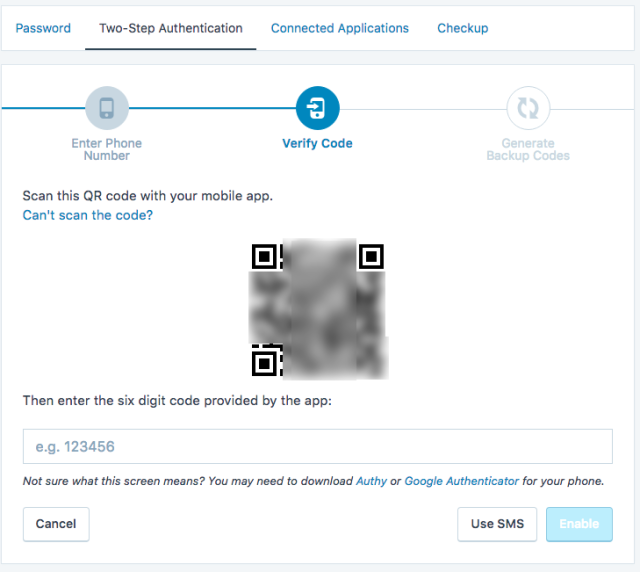 On your authenticator app, you’ll now see a six-digit code displayed, along with WordPress.com and your WordPress username. You’ll need to enter this six-digit code back on the WordPress.com screen, and click “Enable.â€
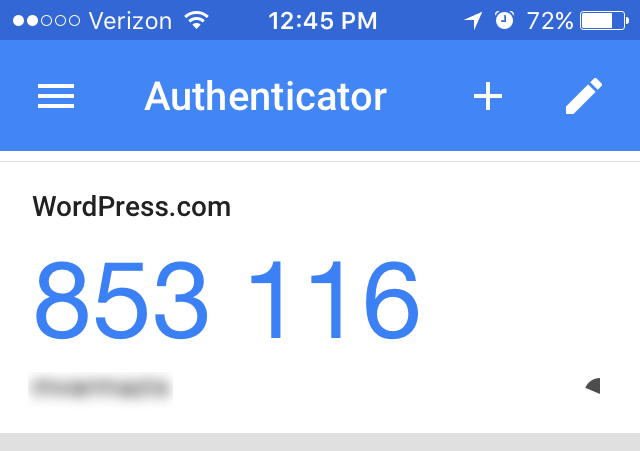
- The next screen will show you a series of 10 numerical codes. These are codes you’d need if you can’t access your phone’s authenticator app – they’re basically a fail-safe, so you really want to keep those code safe and sound. You can print them out or do a screenshot of them, but make sure you DO NOT keep them on your phone.  As the screen below says, if you lose access to your phone and do not have access to these backup codes, you won’t be able to get back in to your account.
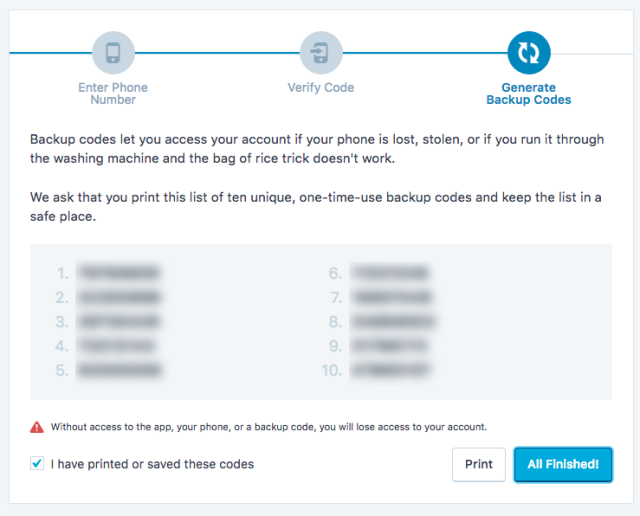 You can’t hit “All Finished†until you’ve checked off “I have printed and saved these code†– and you need them for the next step, so make sure you actually print or save them!
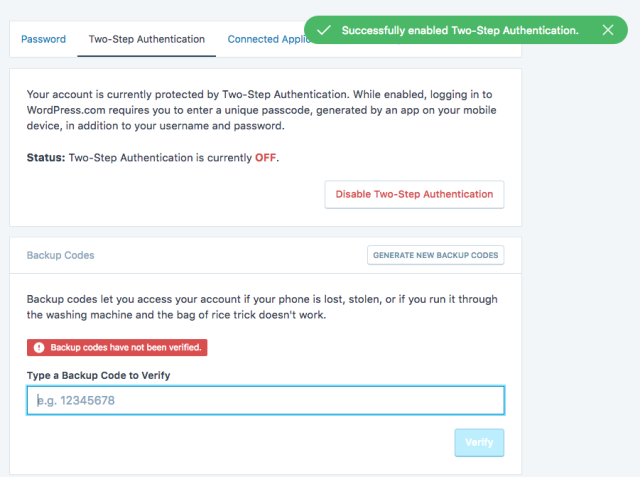
 - Now you’ll be back on the Security screen, and you’ll see a notification that Two-Step Authentication (a.k.a. 2FA) is enabled. But there’s a pesky red notification below that backup codes haven’t been verified. You saved them in the previous step, right? Here’s where you’ll want to pick one of them and enter it, and then hit “verify.â€
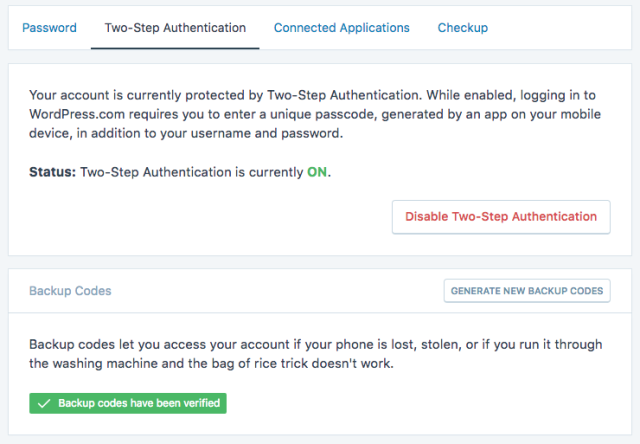
- The next screen will confirm that you’ve verified your 2FA backup codes as well.
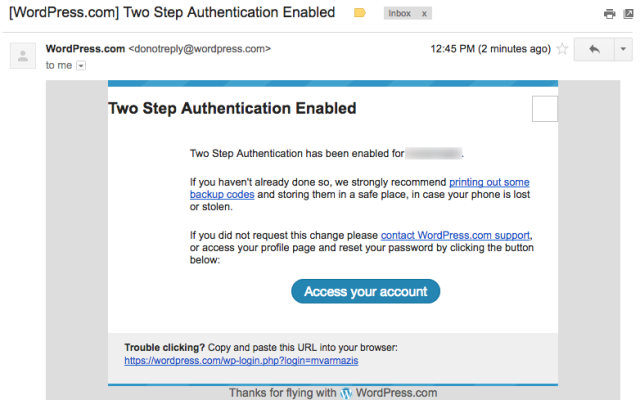
- That’s all there is to it – you’ll also receive an email confirming that you’ve successfully set up 2FA on your WordPress.com account:
WordPress.com’s 2FA process is pretty easy – if you comment and blog via a WordPress.com account, I do hope you’ll give it a try.
You can also check out our other guides on setting up two-factor authentication for Amazon, Gmail and Twitter.
Are there any other services you’d like to see a 2FA guide for? Let us know in the comments.